Creating a Pipeline and Enabling GitOps
In this section, we are going to create the AWS CodePipeline and the required resources with the help of the CDK CI/CD Wrapper.
Clean up the Example Stack
Step 1: Open the Example File
First, open your bin/cdk-cicd-wrapper-github.ts file. It should look like this:
#!/usr/bin/env node
import 'source-map-support/register';
import * as cdk from 'aws-cdk-lib';
import { CdkCicdWrapperGithubStack } from '../lib/cdk-cicd-wrapper-github-stack';

const app = new cdk.App();
new CdkCicdWrapperGithubStack(app, 'CdkCicdWrapperGithubStack', {
  /* If you don't specify 'env', this stack will be environment-agnostic.
   * Account/Region-dependent features and context lookups will not work,
   * but a single synthesized template can be deployed anywhere. */

  /* Uncomment the next line to specialize this stack for the AWS Account
   * and Region that are implied by the current CLI configuration. */
  // env: { account: process.env.CDK_DEFAULT_ACCOUNT, region: process.env.CDK_DEFAULT_REGION },

  /* Uncomment the next line if you know exactly what Account and Region you
   * want to deploy the stack to. */
  // env: { account: '123456789012', region: 'us-east-1' },

  /* For more information, see https://docs.aws.amazon.com/cdk/latest/guide/environments.html */
});
Step 2: Remove the Example Stack
Let’s remove the example stack by deleting the following blocks:
import { CdkCicdWrapperGithubStack } from '../lib/cdk-cicd-wrapper-github-stack';
and
new CdkCicdWrapperGithubStack(app, 'CdkCicdWrapperGithubStack', {
  /* Account/Region environment configuration */
});
Step 3: Remove the unnecessary File
Delete the lib/cdk-cicd-wrapper-github-stack.ts file, as it’s no longer needed.
Step 4: Verify the Clean Up
Your bin/cdk-cicd-wrapper-github.ts file should now look like this:
#!/usr/bin/env node
import 'source-map-support/register';
import * as cdk from 'aws-cdk-lib';

const app = new cdk.App();
Create the Pipeline
Step 5: Import the CDK CI/CD Wrapper
Now, let’s import the CDK CI/CD Wrapper. Add the following import statement after the aws-cdk-lib import:
import * as wrapper from '@cdklabs/cdk-cicd-wrapper';
The updated bin/cdk-cicd-wrapper-github.ts file should now look like:
#!/usr/bin/env node
import 'source-map-support/register';
import * as cdk from 'aws-cdk-lib';
import * as wrapper from '@cdklabs/cdk-cicd-wrapper';

const app = new cdk.App();
Step 6: Define the Pipeline with Builder
Next, we will create the pipeline using the CDK CI/CD Wrapper. Before proceeding, you need to replace the placeholders in the code with your own AWS account ID and GitHub repository name.
- Replace
with your actual AWS account ID.
You can find your AWS account ID in the AWS Management Console by selecting My Account from the account dropdown (upper-right corner of the console).
ACCOUNT_RES, ACCOUNT_DEV, or ACCOUNT_INT cannot be used in this case.- Replace
with the name of your GitHub repository.
This should be the repository name where you have your AWS CDK application. You can find this name directly in your GitHub repository's URL: https://github.com/
wrapper.PipelineBlueprint.builder()
  .region('eu-central-1')
  .defineStages([
    { stage: wrapper.Stage.RES, account: '<your AWS account id>' },
  ])
  .plugin(new wrapper.GitHubPipelinePlugin({
    repositoryName: '<your GitHub repository>',
  }))
  .synth(app);
Congratulations! Your code is ready to deploy the pipeline.
Show Solution
The bin/cdk-cicd-wrapper-github.ts file should look like this:
#!/usr/bin/env node
import 'source-map-support/register';
import * as cdk from 'aws-cdk-lib';
import * as wrapper from '@cdklabs/cdk-cicd-wrapper';

const app = new cdk.App();
wrapper.PipelineBlueprint.builder()
  .region('eu-central-1')
  .defineStages([
    { stage: wrapper.Stage.RES, account: '<your AWS account id>' },
  ])
  .plugin(new wrapper.GitHubPipelinePlugin({
    repositoryName: '<your GitHub repository>',
  }))
  .synth(app);
Deploy the Pipeline
Step 7: Verify the Code Can Be Synthesized
Run the following command to synthesize the pipeline:
npm run cdk synth
When you run this command, the pipeline will generate a .github folder in your project. This folder contains a GitHub Actions workflow that automates the deployment of your AWS CDK application.
The workflow includes steps to build, test, and synthesize your CDK code, ensuring it is ready for deployment. It triggers on every push to the main branch, using GitHub Actions to automatically deploy the application to your AWS environment. You can manually trigger the deployment or let it run automatically on code changes.
Step 8: Set Up the AWS Side of the Pipeline
To deploy the AWS account-side components of the pipeline, run the following command:
npm run cdk deploy -- --all
During the deployment process, you will be prompted to review the AWS IAM policies that will be created. Once you've reviewed them, confirm by typing 'y'.
Your AWS account is now ready to interact with the GitHub repository.
(Optional) Review the Infrastructure
Let’s review the infrastructure that was deployed. Go to the AWS CloudFormation service and check the following stacks:
| Stack | Description | Resources |
|---|---|---|
cdk-cicd-wrapper-github |
The core stack containing the IAM Role and Policy to interact with the AWS accoutn from GitHub Actions. | |
cdk-cicd-wrapper-githubRepository |
The core stack containing the IAM Role and Policy to interact with the AWS accoutn from GitHub Actions | |
cdk-cicd-wrapper-githubSSMParameterStack |
AWS SSM Parameters for environment variable mirroring. | SSM Parameters |
cdk-cicd-wrapper-githubEncryptionStack |
AWS KMS Key used for data encryption at rest. | KMS Key |
cdk-cicd-wrapper-githubComplianceLogBucket |
This stack ensures that an Amazon S3 Bucket exists for logging. | S3 Bucket |
Enabling GitOps
Now that our repository and pipeline are in place, we can start pushing changes to the repository.
Step 9: Add the GitHub repository as a remote
git remote add origin <GitHub repository clone url>
Step 10: Commit and push the changes
git add .
git commit -m "feat: initialize pipeline"
git push -u origin main
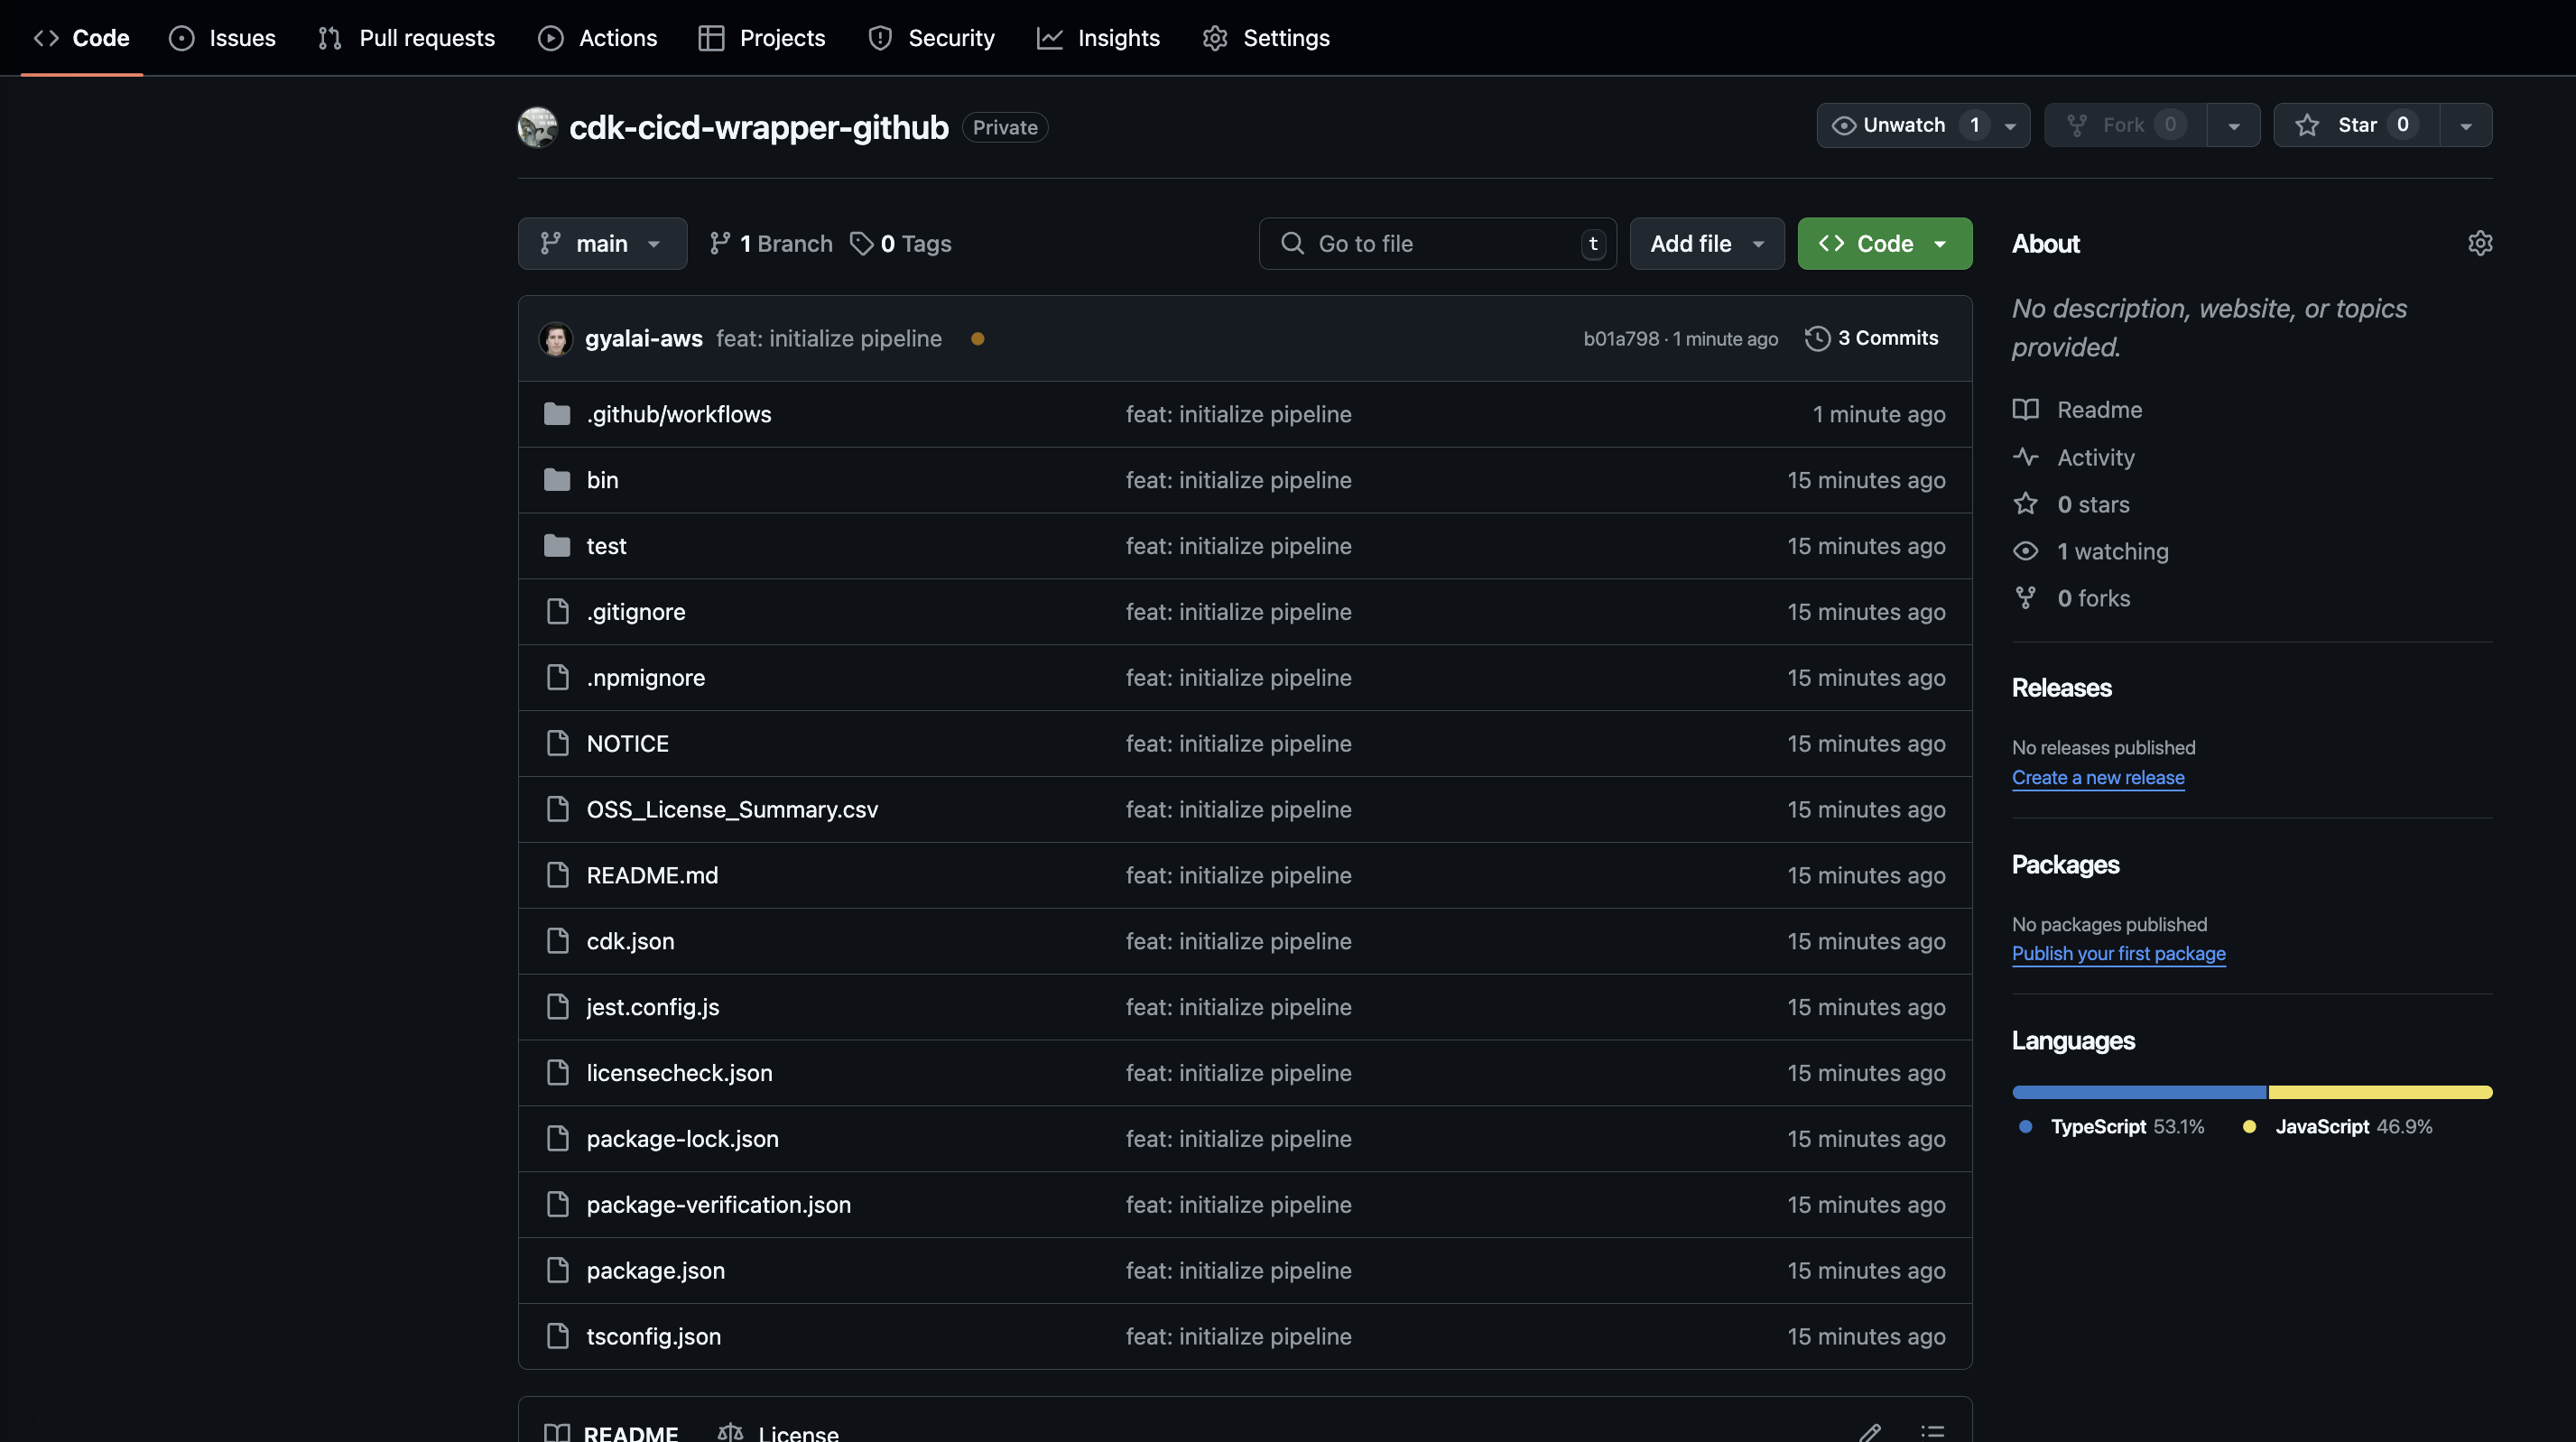
After pushing the changes, you can check the repository in the AWS Management Console.

Congratulations! Your changes have been committed and pushed to the repository.
Observe the Pipeline
After pushing the changes to the repository, it's important to observe the progress of the pipeline in AWS CodePipeline to ensure everything is working as expected.
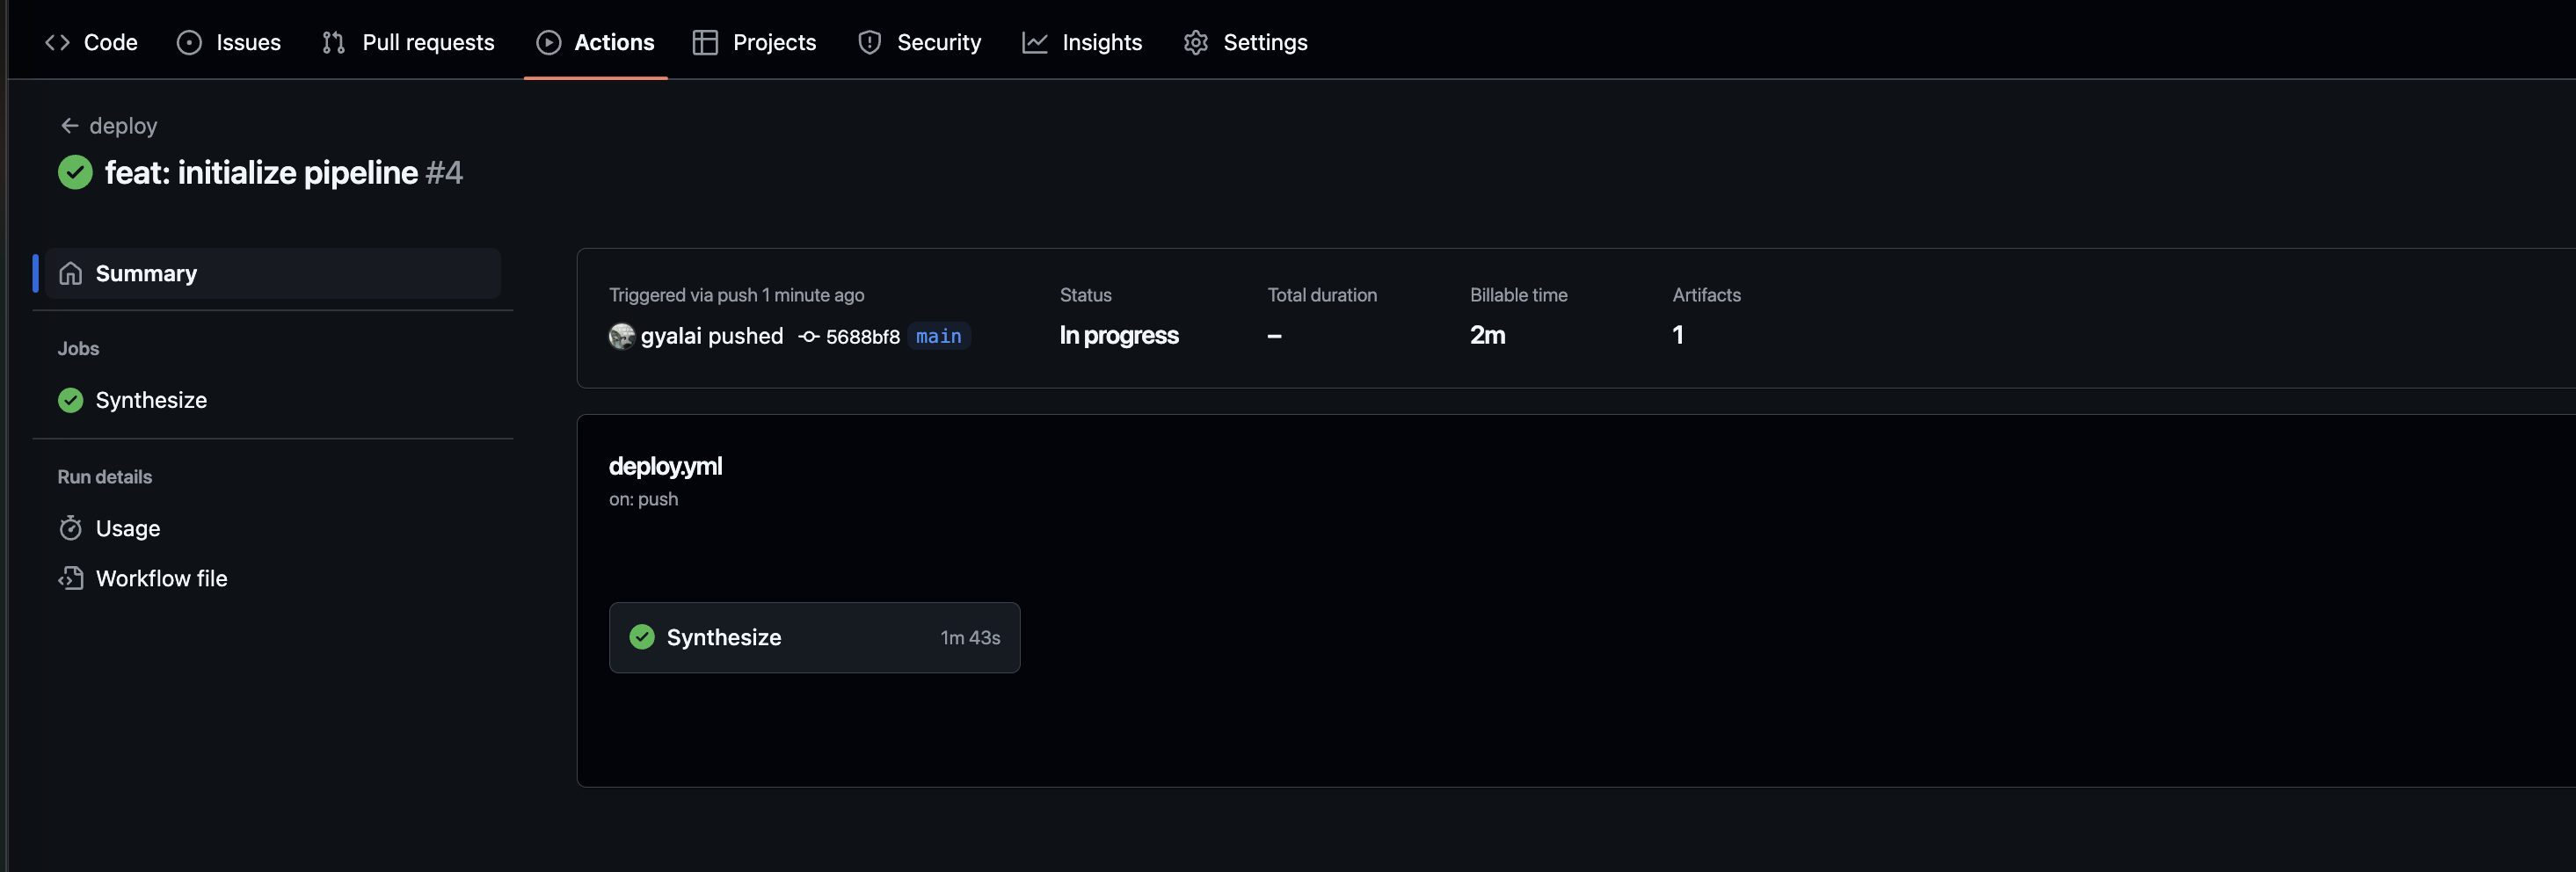
Step 11: Access GitHub Actions
-
Navigate to your GitHub repository.
-
Click on the Actions tab at the top of the repository page.

- In the CodePipeline dashboard, find the pipeline named
cdk-cicd-example(or the name you've given your pipeline).
Step 12: View Workflow Stages
-
Click on the deploy workflow to open its details.
-
You will see the different stages of the workflow, such as Checkout, Build, Test, and Synthesize.
Step 13: Monitor the Workflow Execution
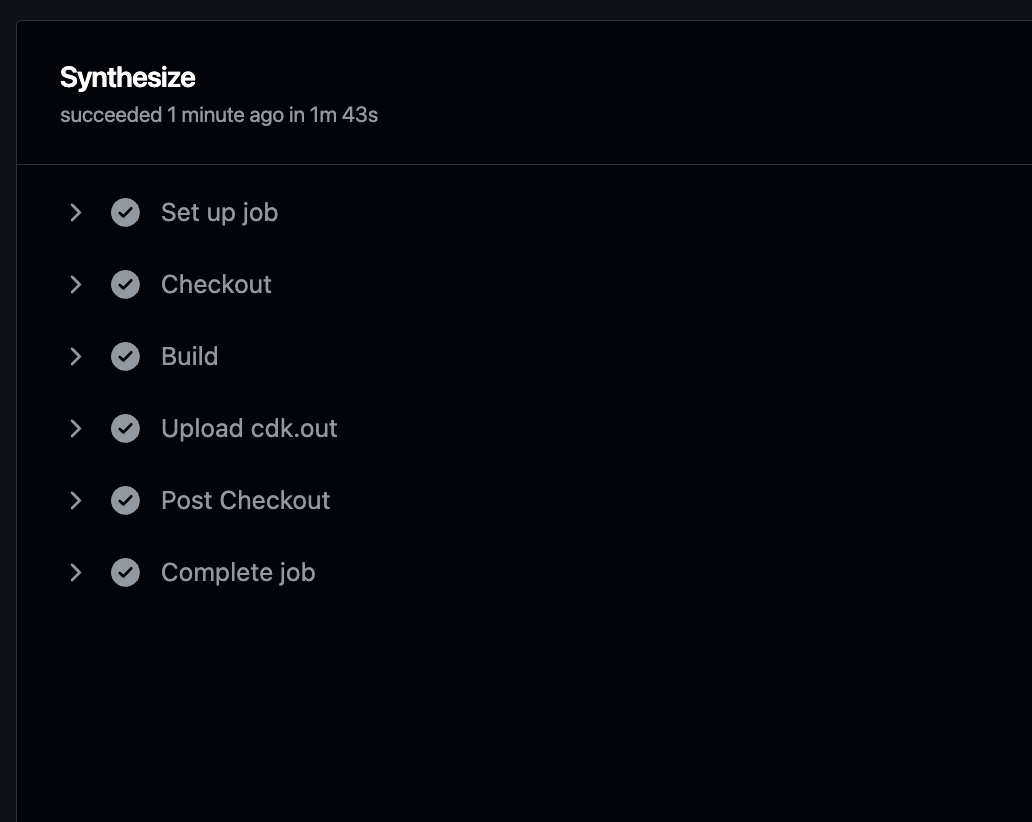
Each stage of the workflow will display its current status. You can monitor the progress of each steps in real-time.
- Checkout Step: This step retrieves the latest commit from your GitHub repository.
- Build Step: During this step, the workflow will run the commands defined in your npm scripts, compiling the code, running tests, ensuring the code quality, and AWS CDK to generate and prepare your CloudFormation templates for deployment
- Upload Step: Finally, the upload step uploads the cdk.out folder as artifact.

If the pipeline succeeds, all stages will be marked as Succeeded.
Your CI/CD pipeline is ready to be used.
Click Next to continue to the next section.