Create a CDK Project & Bootstrap the AWS Account
In this section, we will create a CDK project and bootstrap your AWS account to prepare it for deploying resources using AWS CDK.
Step 1: Create a CDK TypeScript Project
We will start by initializing a new CDK project in TypeScript.
npx -y aws-cdk init --language typescript
Step 2: Add the CDK CI/CD Wrapper
To add the necessary wrapper for your project, run the following command:
npm install --include=dev --save @cdklabs/cdk-cicd-wrapper @cdklabs/cdk-cicd-wrapper-cli
Step 3: Bootstrap the Resourcing (RES) Account
You need to bootstrap your AWS account so it can manage CDK resources. You can refer to the official AWS CDK Bootstrapping Documentation for more details.
Optional: Modify cdk.json Configuration
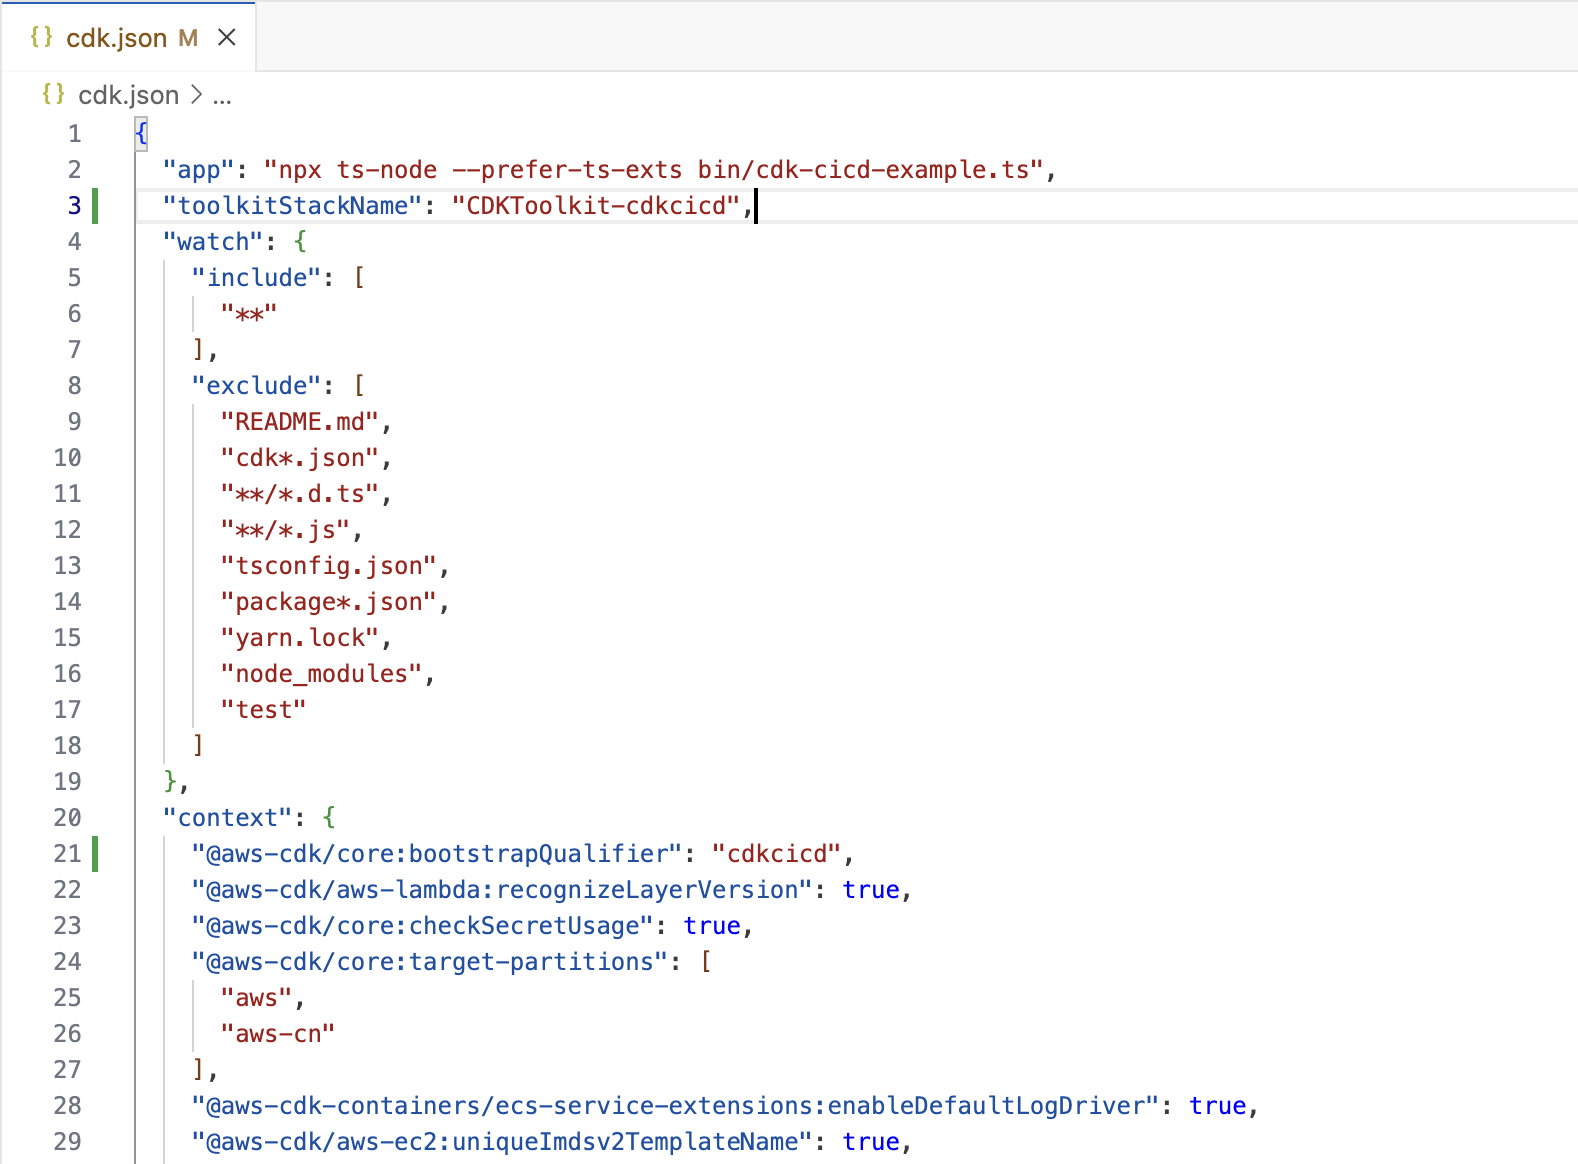
Add the following CDK configurations to your cdk.json file for additional control over the bootstrapping process:
- toolkitStackName
- @aws-cdk/core:bootstrapQualifier

Bootstrap the Account
npm run cdk bootstrap
If you've configured @aws-cdk-core:bootstrapQualifier, use the following command with the qualifier:
npm run cdk bootstrap -- --qualifier cdkcicd
Step 4: Verify the Bootstrap
After running the bootstrap command, verify that the CDKToolkit or if you've configured toolkitStackName stack is present in the AWS CloudFormation Service.
Real-Life Setup for Multiple AWS Accounts
For this workshop, we are using a single AWS account. However, in real-world scenarios, each stage (e.g., DEV, INT, PROD) would have its own dedicated AWS account. You’ll need to bootstrap each of these accounts with the same CDK qualifier and establish trust with the resourcing account.
Here’s an example command to bootstrap a different account with a trust relationship:
npm run cdk bootstrap -- \
  --qualifier cdkcicd  \
  --profile <my_aws_profile_for_other_account> \
  --cloudformation-execution-policies arn:aws:iam::aws:policy/AdministratorAccess \
  --trust <resource_account_number> aws://<stage_account_number>/<region>
You have a created a CDK project and bootstrapped your AWS account for CDK development.
Click Next to continue to the next section.