Prerequisites
AWS Account Setup
Before starting the workshop, ensure you have the following:
- AWS Account with administrative access
- Default VPC in your account
- AWS Region: You can use any of the following regions:
us-east-1us-east-2us-west-2eu-central-1eu-west-1eu-west-2
Amazon Bedrock Setup
We will be using Amazon Bedrock to access foundation models in this workshop. Below, we configure model access in Amazon Bedrock for building and running generative AI applications. Bedrock provides models from multiple providers.
Amazon Bedrock Setup Instructions
-
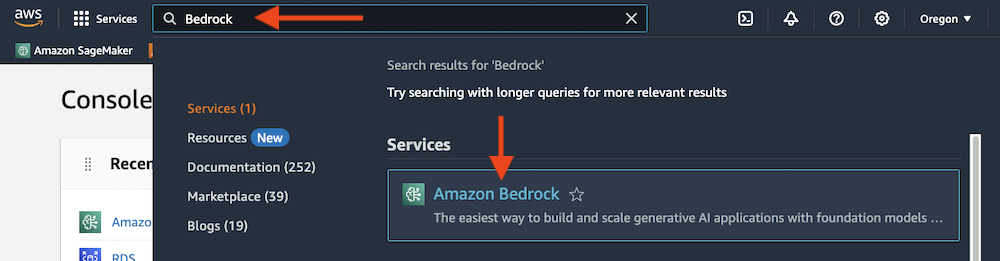
Search for Amazon Bedrock in the AWS console.
-
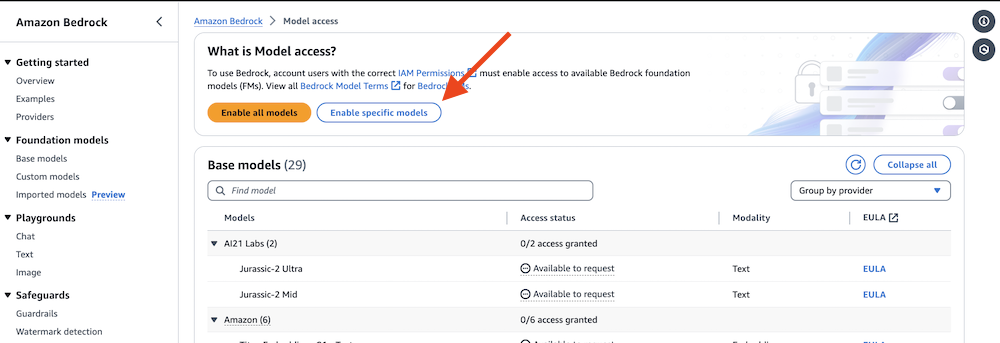
Expand the side menu and select Model access.

-
Click Enable specific models.
-
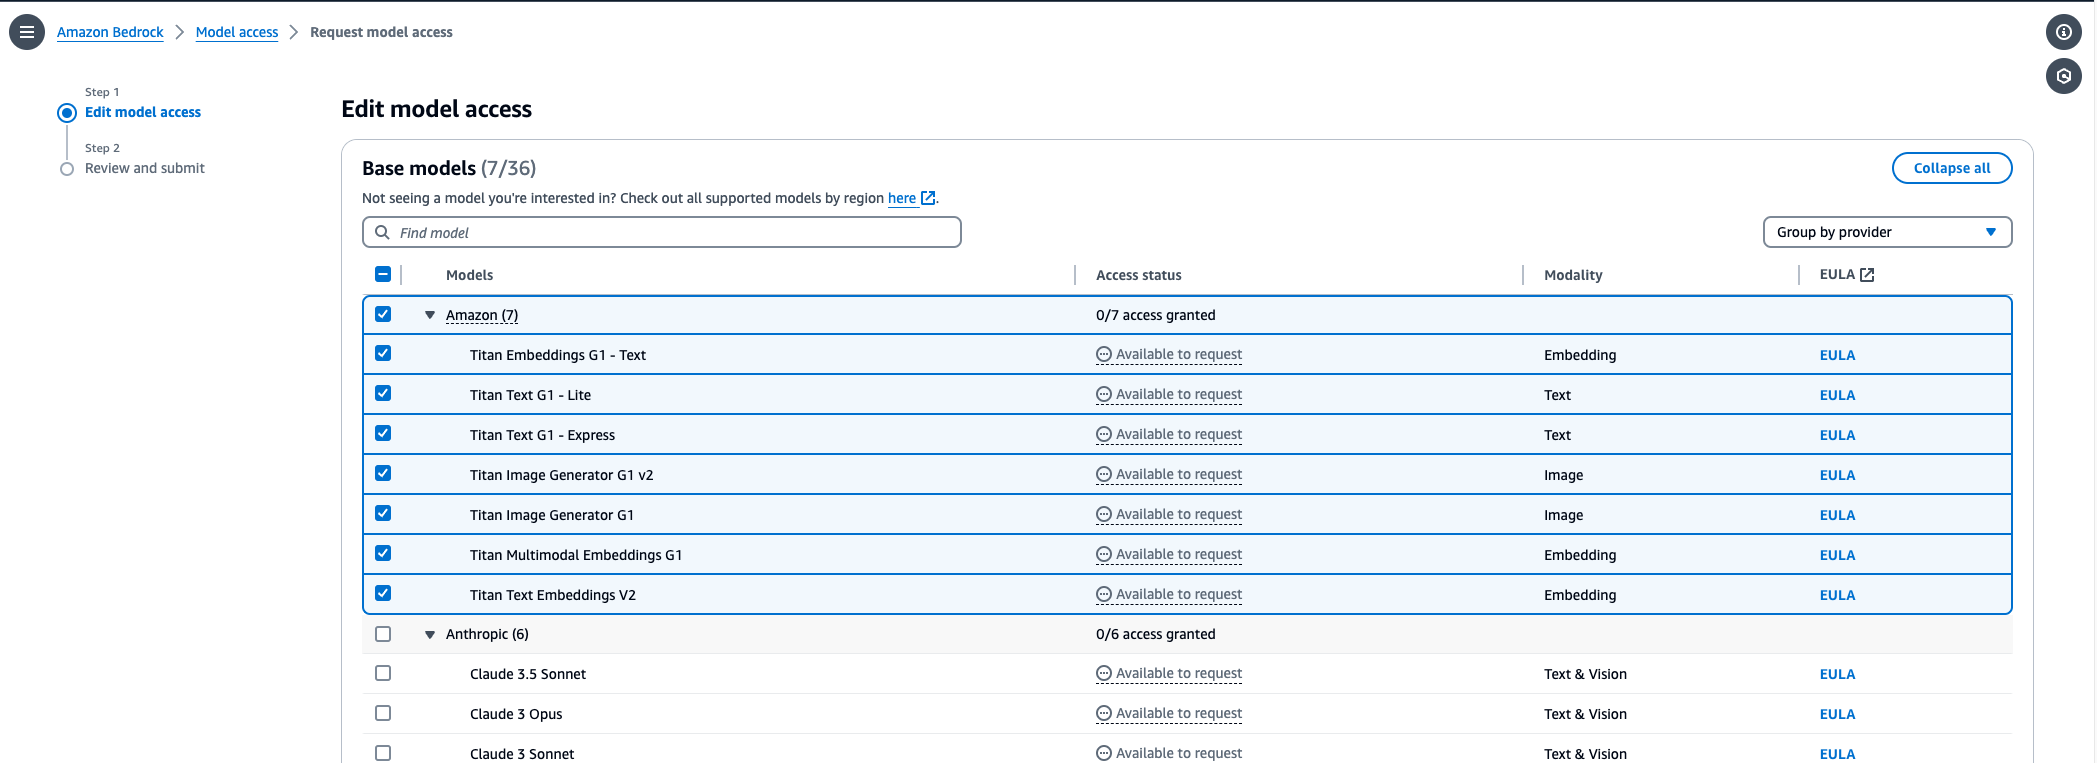
Select the following models:
- Amazon (All Titan models)
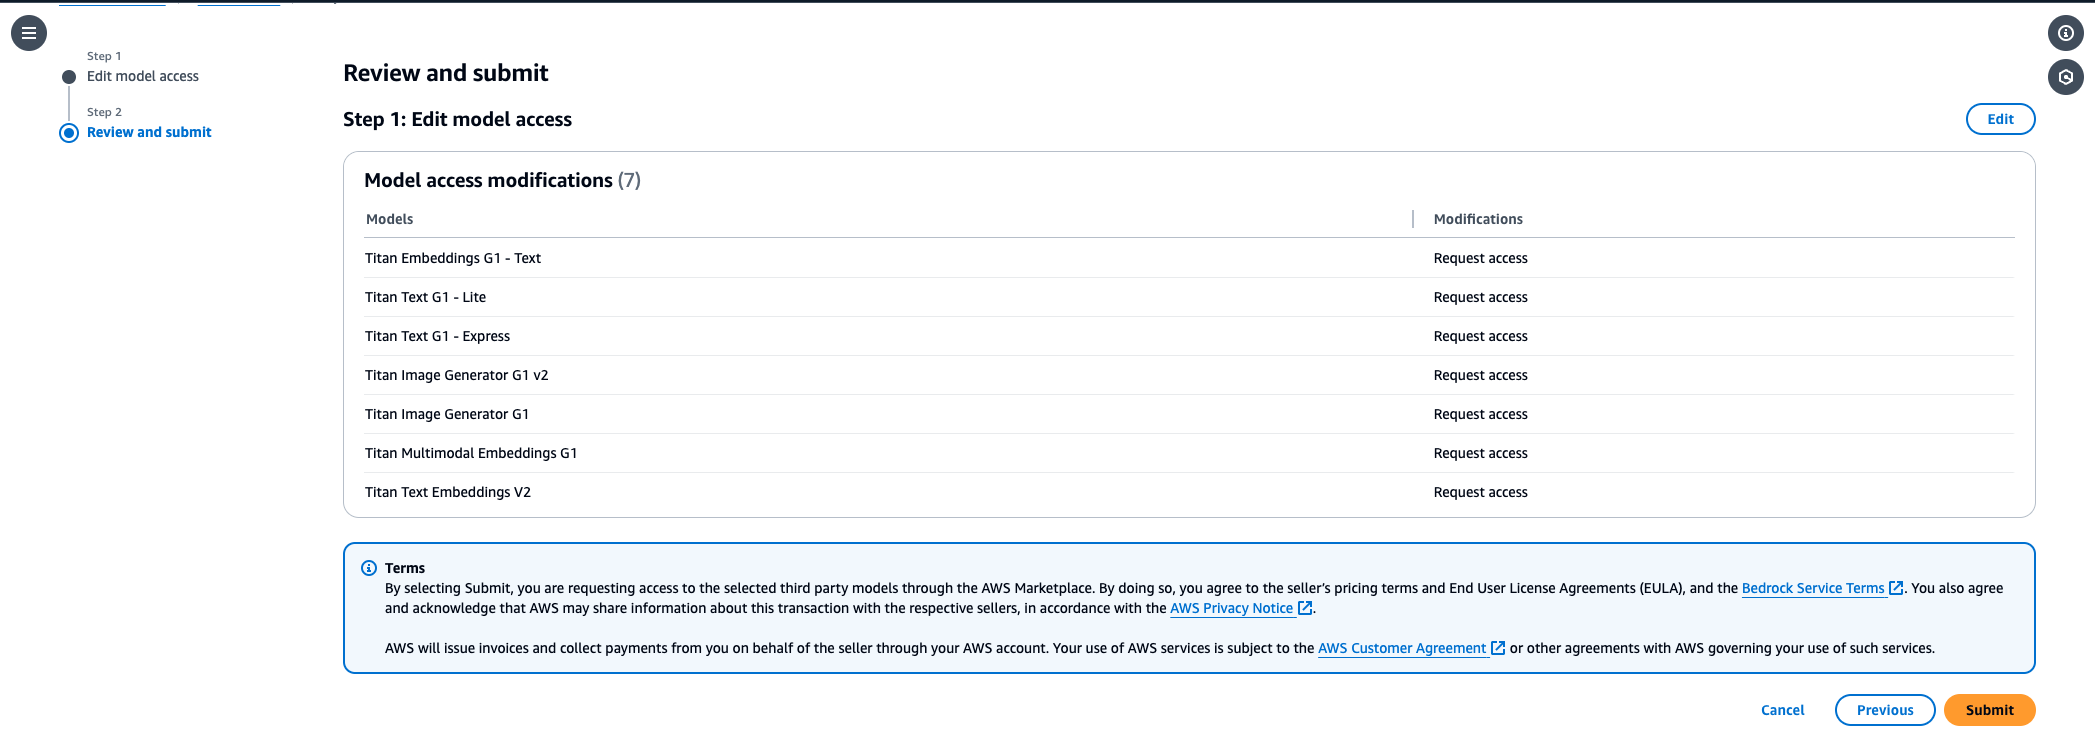
- Click Next, review, and then submit.
- Monitor model access status and ensure Access granted.
you've successfully set up Amazon Bedrock!
Workspace Setup
You will need a workspace to run the workshop. You can use the Amazon SageMaker Studio CodeEditor for this workshop or you can use your local machine.
Configure Amazon SageMaker Studio CodeEditor
- Download the CloudFormation template to your local machine: cdk-cicd-workshop.yml
CloudFormation Stack Setup
Within your AWS account:
- Navigate to AWS CloudFormation (via AWS Console) to create a new stack.
- On the "Create stack" screen, under the Specify a template section, select the Upload a template file option and navigate to select the
cdk-cicd-workshop.ymlfile you downloaded earlier. Click Next.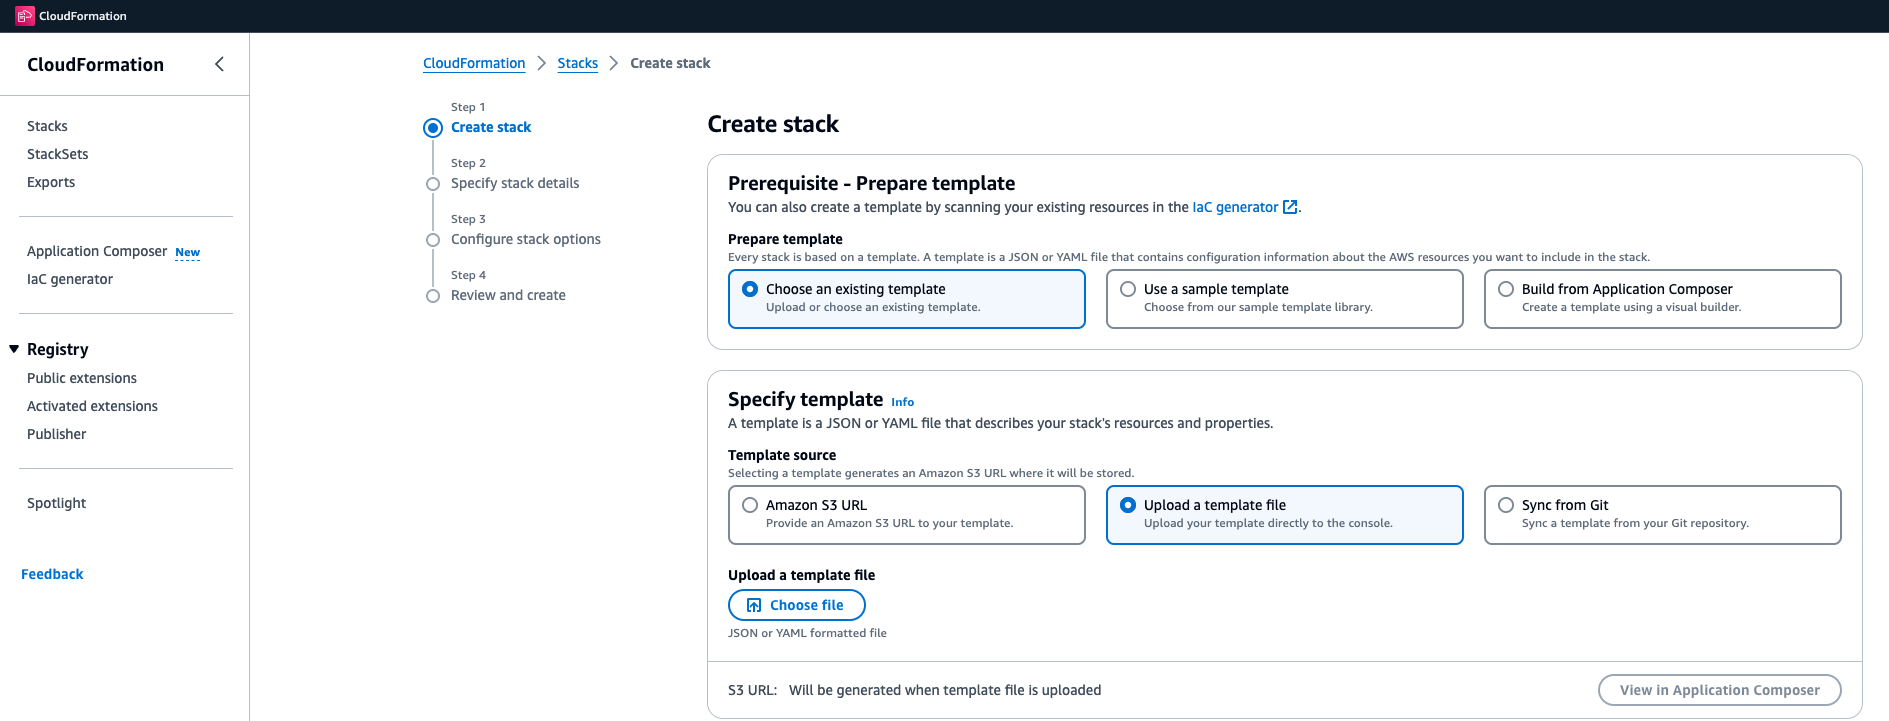
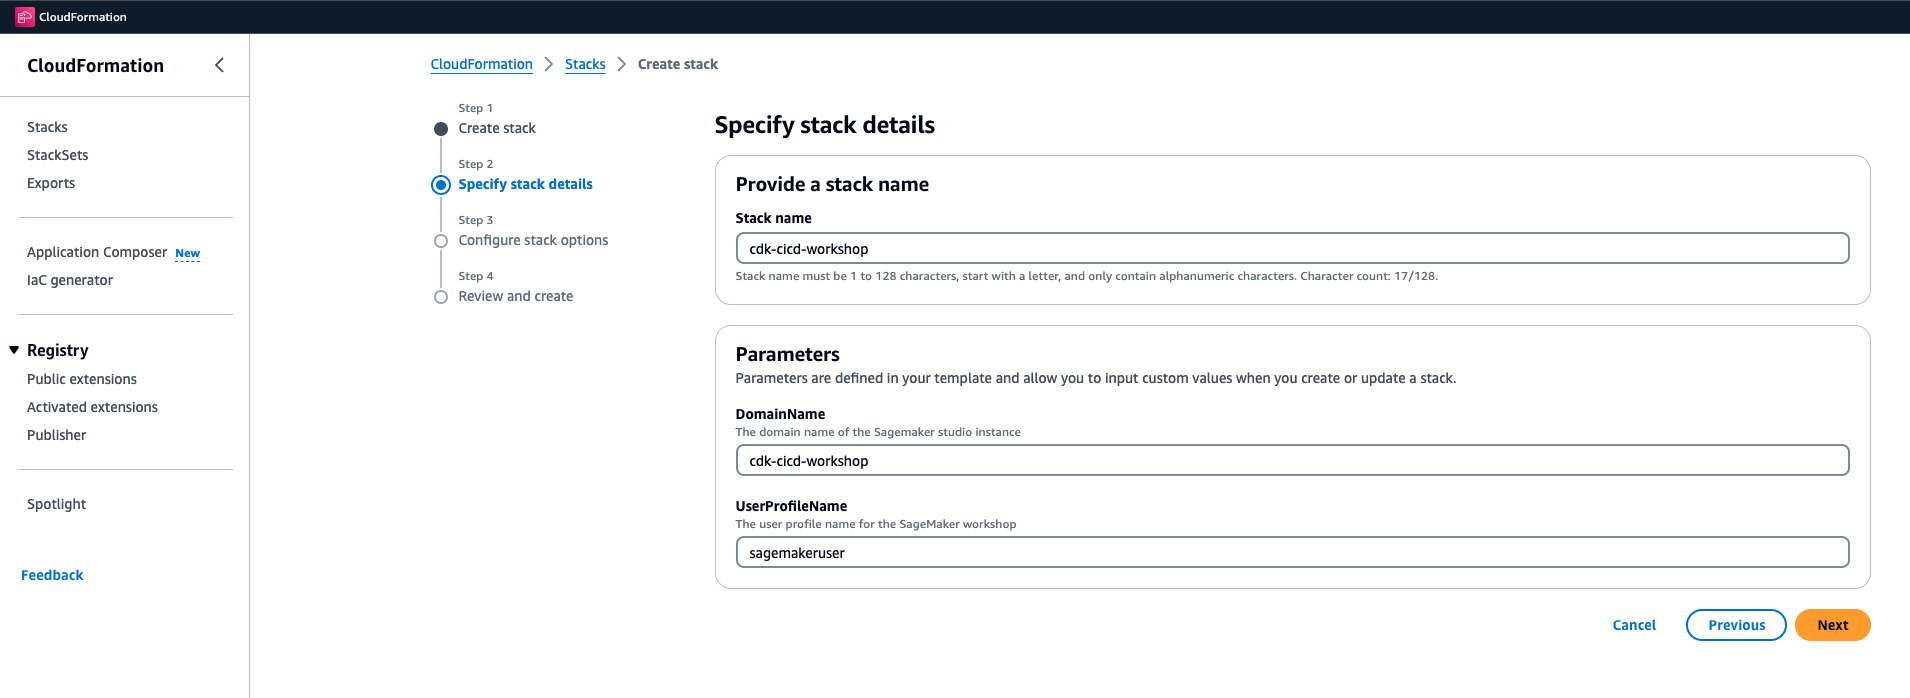
- On the "Specify stack details" screen, under the Stack name section, provide a name for the CloudFormation stack (e.g.,
cdk-cicd-workshop). - Leave the rest of the parameters unchanged, and click Next.
- On the "Configure stack options" screen, leave the default parameters unchanged, scroll to the bottom of the page, and click Next.
- On the "Review" screen, scroll to the bottom of the page and check the box:
"I acknowledge that AWS CloudFormation might create IAM resources.". Click Create Stack.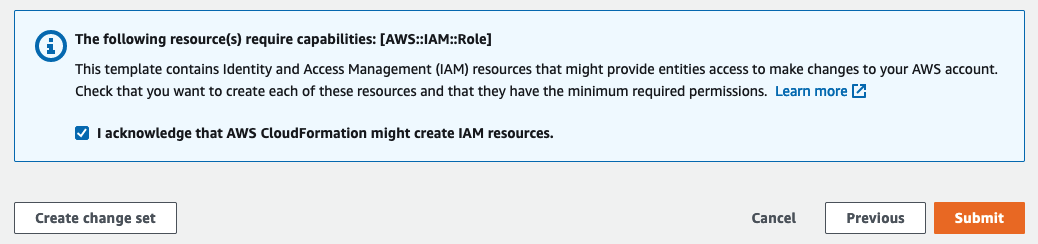
CloudFormation will take a few minutes to run and set up your environment. Please wait for this step to complete.
You have successfully deployed the AWS environment for this workshop. Next, we will verify the environment.
Open Amazon SageMaker Studio CodeEditor
- In the AWS console, type "SageMaker" in the search bar and navigate to the Amazon SageMaker service page.
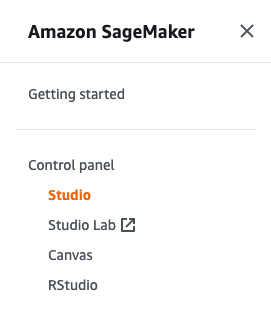
- Click on the Studio link in the left navigation pane under the Control Panel.
-
You should see a pre-configured user. Click Open Studio.
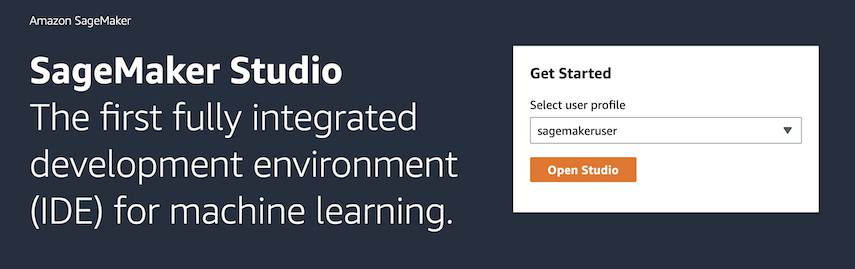 This will open the SageMaker Studio UI in a new browser window.
 -
Click on the Code Editor icon under Applications and run the
my-spaceapplication.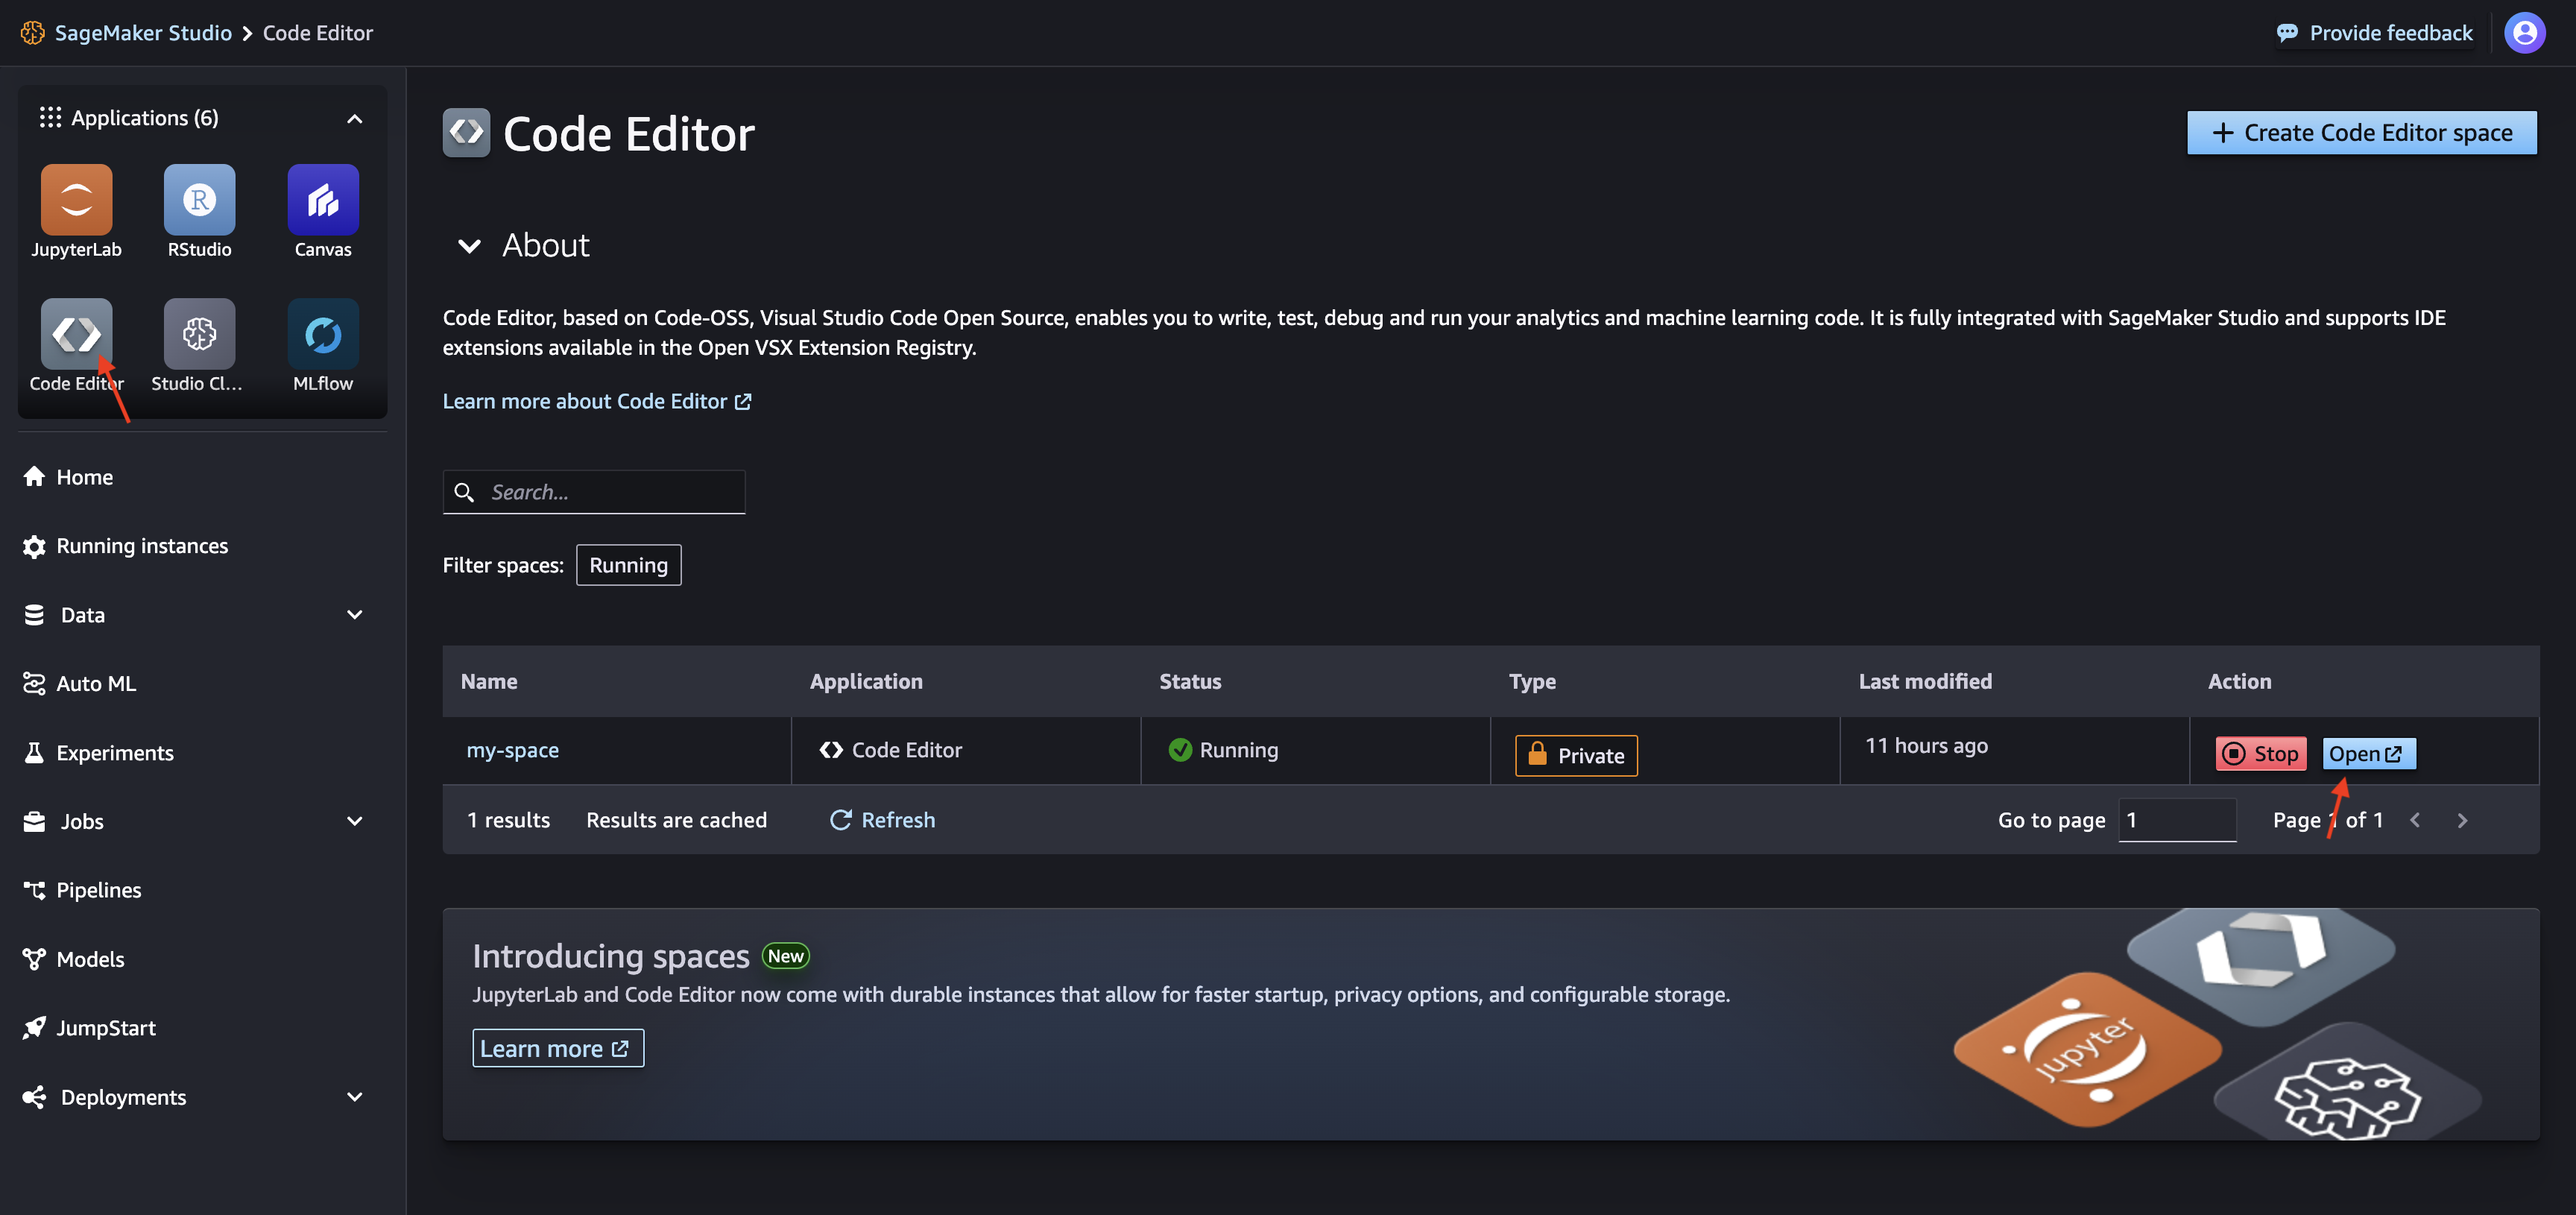
- Click Open to launch the Code Editor in a new browser tab.
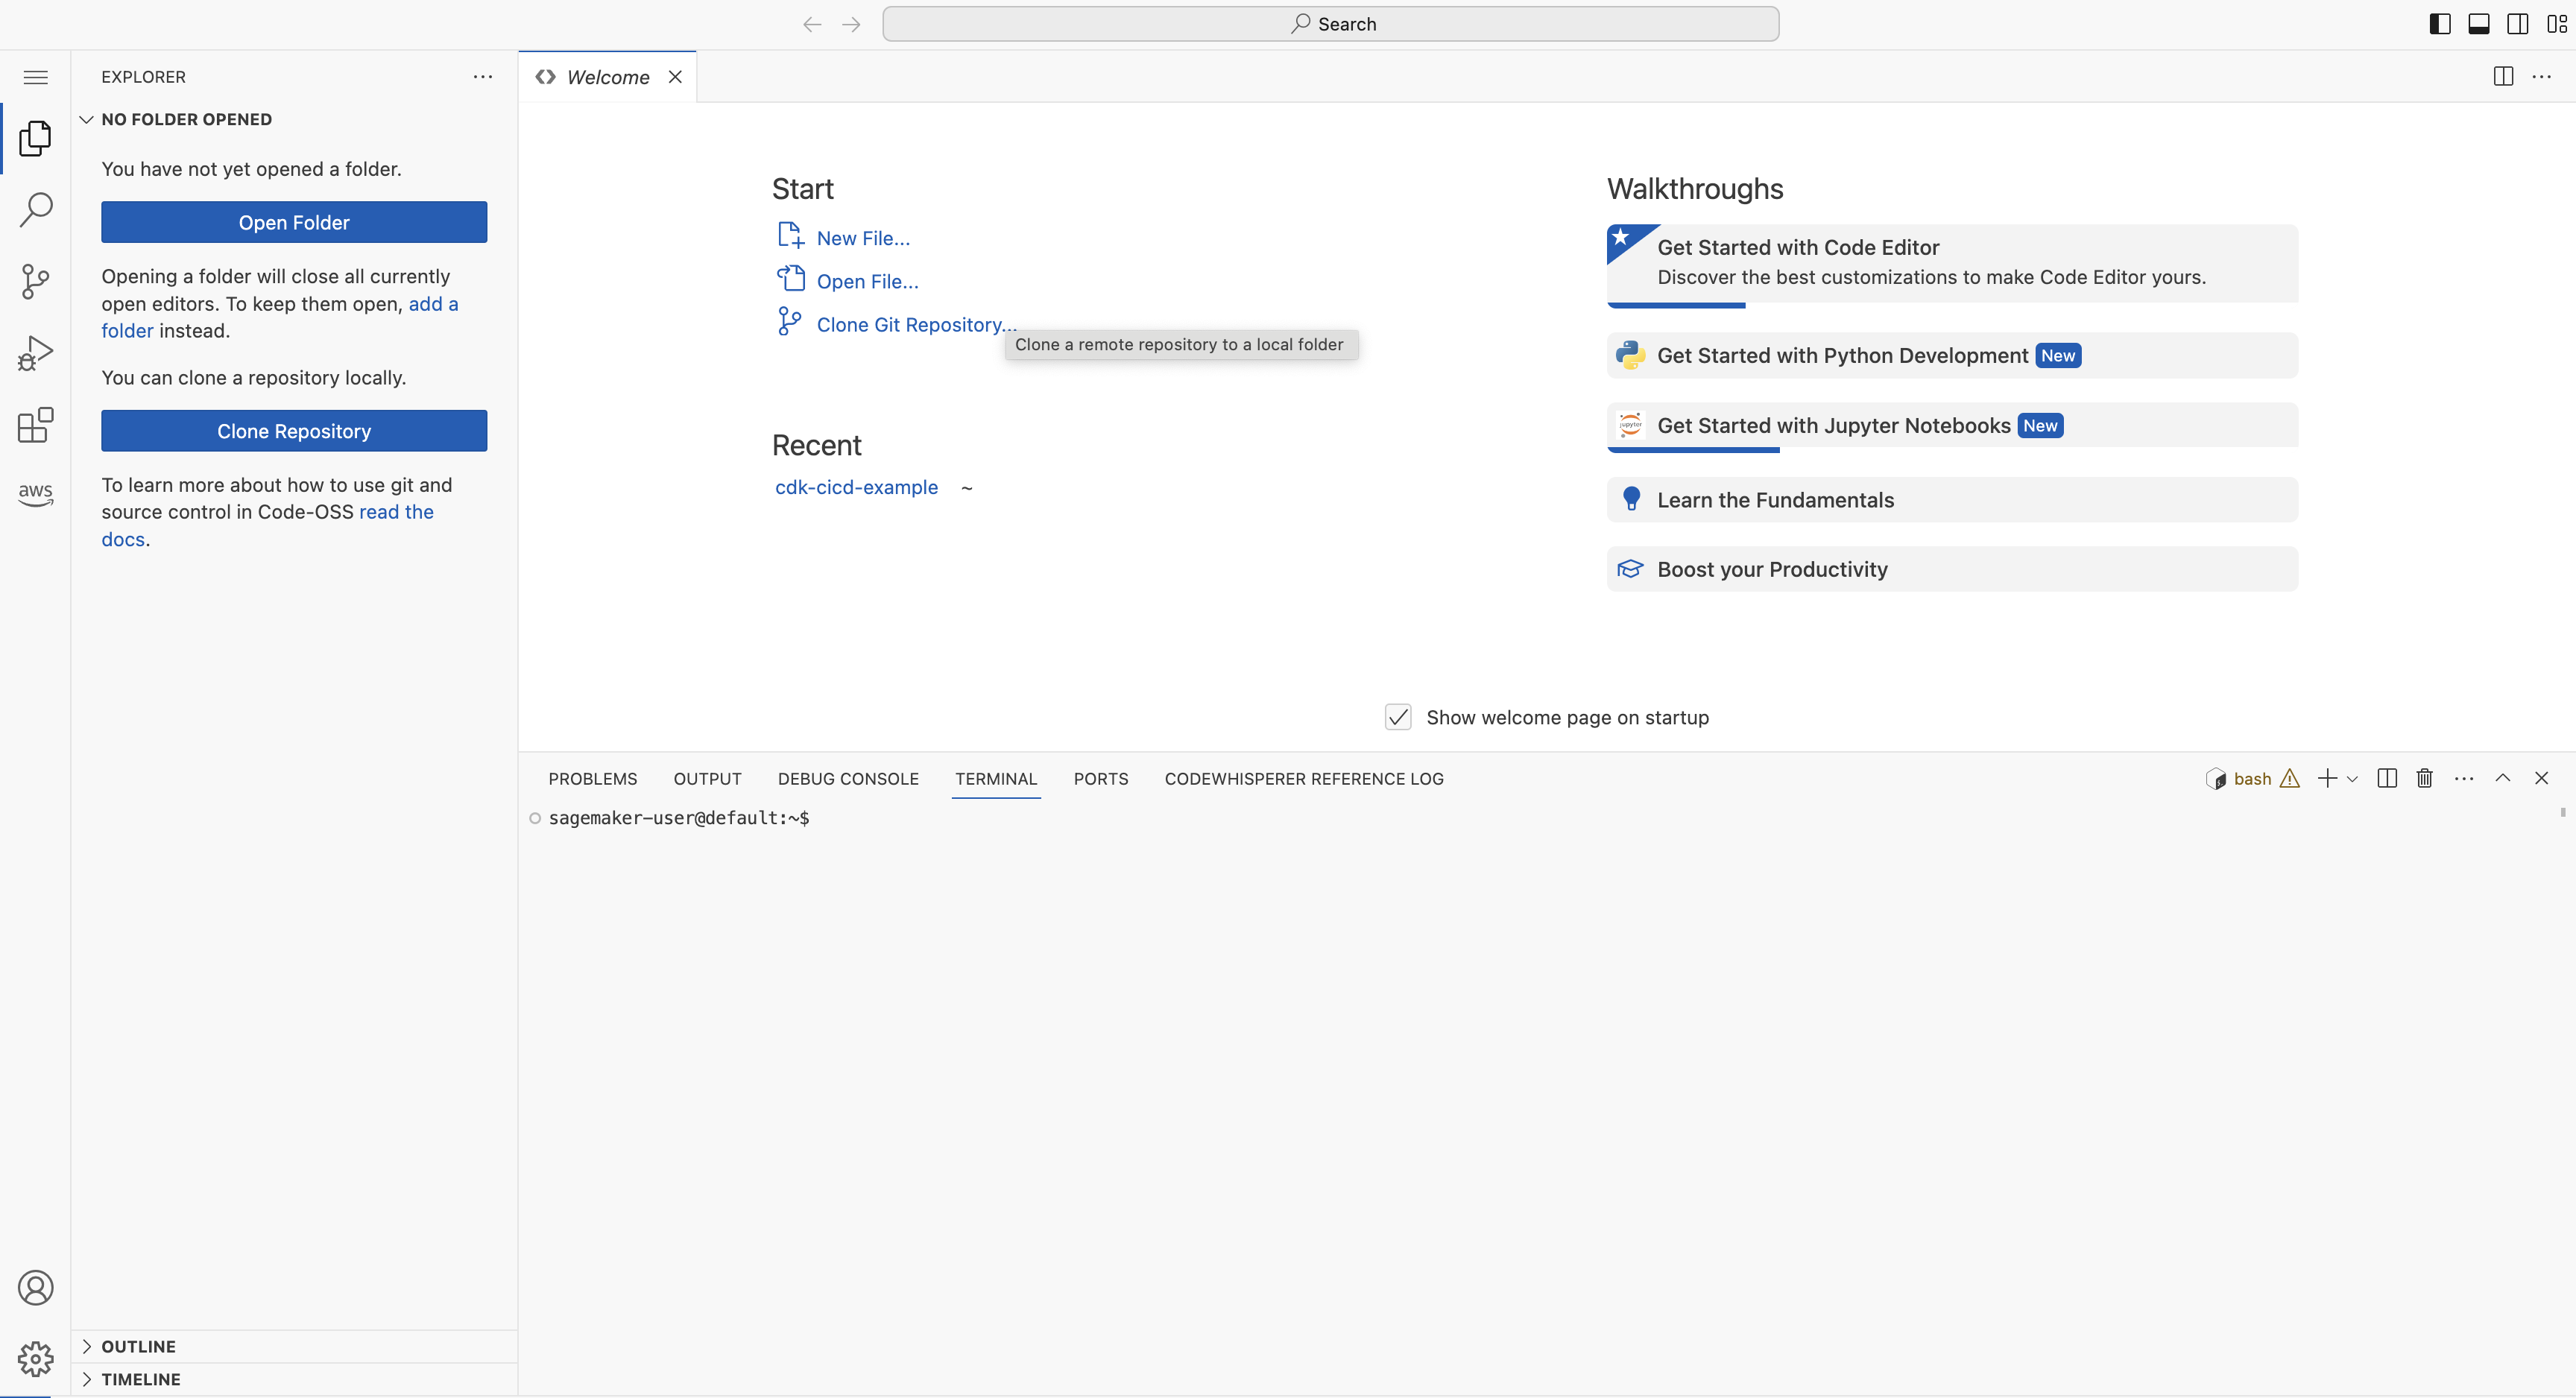
- In the Project folder, open the
cdk-cicd-exampleproject, which is already initialized for you.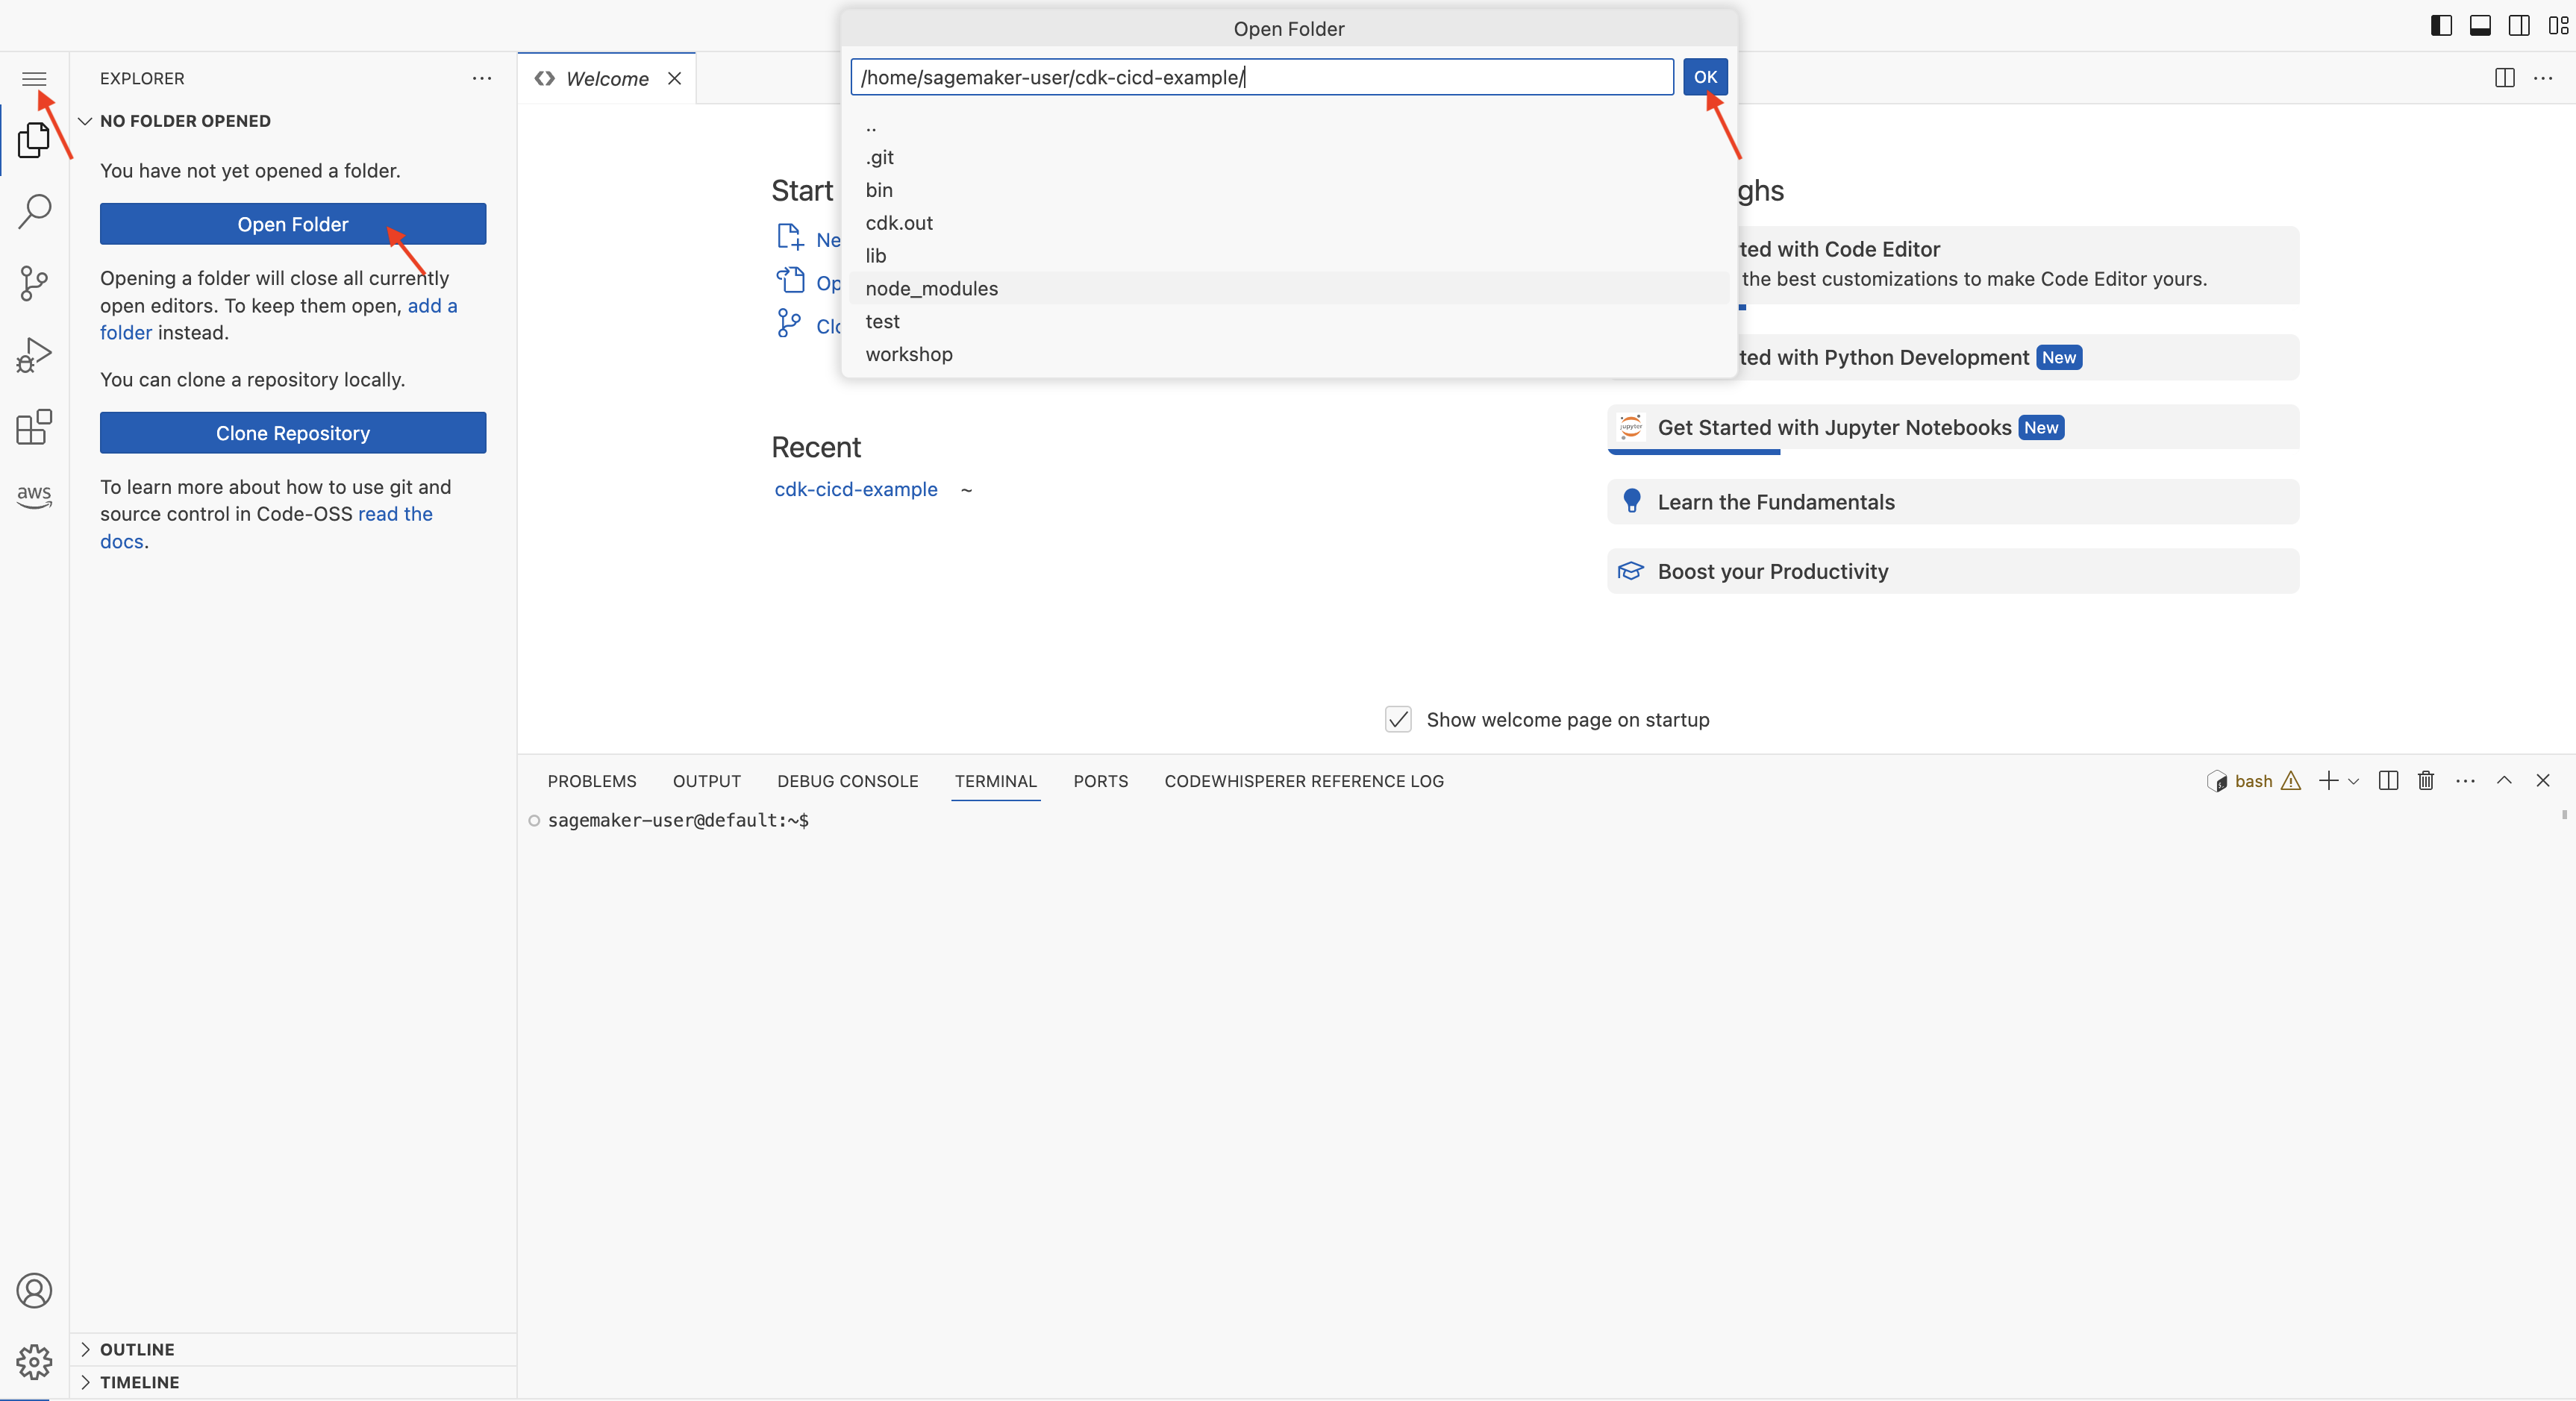
You have a ready to go CodeEditor.
Click Next to continue to the next section.
Configure Local Machine
Install the following tools on your local machine:
Configure the following environment variables:
export AWS_REGION=<region>
export AWS_ACCOUNT_ID=<account-id>
export AWS_PROFILE=<profile> # Optional in case you have multiple profiles
You have a ready to go workspace.
Click Next to continue to the next section.